Matthew Thorne
What to Do Immediately After Closing on Your First Home
Reading time: 14 minutes
You’ve signed the papers. You’ve got the keys in your hand. Your heart is racing, and honestly? That’s completely normal. Closing on your first home is one of the most significant financial milestones of your life — but here’s the thing most real estate agents don’t tell you: the work doesn’t stop at the closing table.
In 2026, with the average U.S. home price hovering around $415,000 and mortgage rates stabilizing in the 6.2–6.8% range following years of volatility, first-time buyers are entering homeownership more prepared than ever — yet still largely unprepared for what happens after the deal closes. According to a 2025 National Association of Realtors survey, nearly 67% of first-time homebuyers reported feeling overwhelmed by post-closing responsibilities within the first 30 days.
This guide is your strategic roadmap. Think of it as the practical manual they forgot to hand you alongside those shiny new keys.
Table of Contents
- The First 24 Hours: Security and Essentials
- The First Week: Administrative Priorities
- The First Month: Systems, Utilities, and Safety
- Financial Moves to Make Right Away
- 3 Common Post-Closing Challenges (and How to Beat Them)
- Post-Closing Priority Comparison Table
- How New Homeowners Prioritize Their First Month
- Frequently Asked Questions
- Your First 90-Day Homeowner Roadmap
The First 24 Hours: Security and Essentials
Before you unpack a single box, before you celebrate with a glass of wine in your new living room, there are a handful of non-negotiable actions that protect your investment from day one.
Change the Locks — No Exceptions
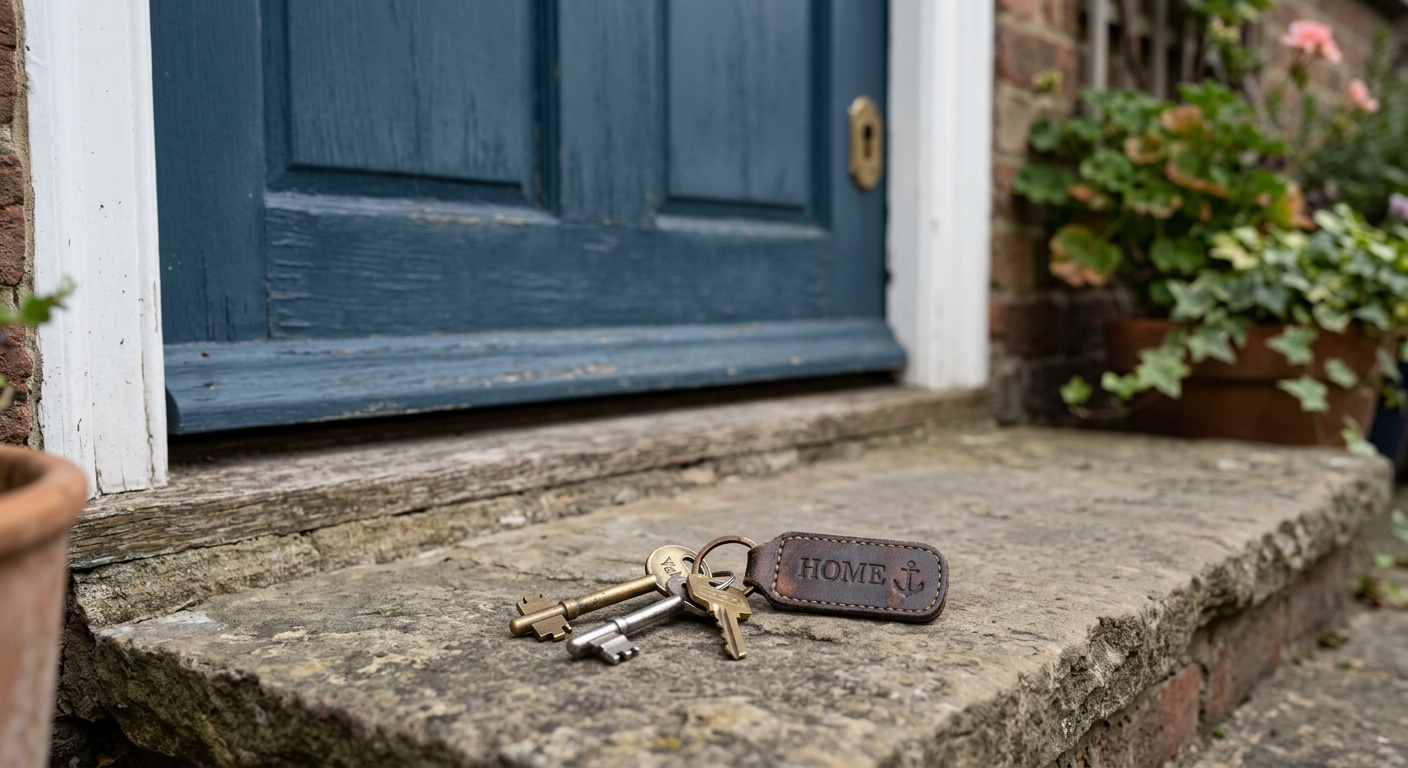
This is the single most important thing you can do in the first 24 hours. You have no idea how many copies of your home’s keys are floating around. Previous owners, their relatives, dog walkers, housecleaners, contractors — any of them could have a copy. In 2025 alone, the FBI reported that roughly 1 in 36 homes experienced a burglary, and a surprising number of those involved someone with prior access.
Rekeying your locks is affordable — typically $40–$100 per lock through a licensed locksmith — and far cheaper than the alternative. Consider upgrading to smart locks while you’re at it. Brands like Schlage Encode Plus or Yale Assure Lock 2 offer keypad entry and remote access that’s become the 2026 standard for new homeowners.
Quick action checklist:
- Rekey or replace all exterior door locks
- Change the garage door code (if applicable)
- Replace or reprogram any keypad entry systems
- Locate and photograph all entry points to your home
Document Every Room With Video and Photos
Pull out your phone and walk through every room systematically. Record video of walls, floors, ceilings, appliances, fixtures, and any existing damage. This 20-minute task is your insurance lifeline. Should a dispute arise about pre-existing conditions — or if you ever need to file a homeowner’s insurance claim — this documentation is invaluable.
Upload this footage to a cloud service immediately. This isn’t just good advice — it’s what insurance professionals recommend as a best practice in 2026, when AI-powered claims assessments increasingly rely on timestamped media.
Locate Your Home’s Essential Systems
Find your main water shut-off valve, your electrical panel, your gas shut-off (if applicable), and your HVAC system. Label circuits in your electrical panel if they aren’t already. These aren’t exciting tasks — but at 2 a.m. when a pipe bursts, you’ll be grateful you know exactly where to run.
The First Week: Administrative Priorities
Once the immediate security tasks are done, week one is about paperwork, notifications, and setting up your home’s administrative infrastructure.
Update Your Address Everywhere
This sounds obvious, but most people underestimate the scope. Here’s a comprehensive list of who needs your new address:
- USPS: Submit a mail forwarding request at usps.com — costs about $1.10 to verify your identity online
- Employer and HR department (for W-2s and payroll)
- IRS and state tax authority — use Form 8822 for federal changes
- Banks and credit card issuers
- Social Security Administration
- DMV — most states require address updates within 10–30 days of moving
- Voter registration
- Health insurance provider
- Subscriptions (Amazon, streaming, meal kits, etc.)
- Doctor, dentist, and pharmacy
Transfer or Set Up All Utilities
Ideally, you coordinated utility transfers before closing — but if not, this is now your top priority. In 2026, most utility companies offer same-day or next-day activation for electricity and water. Contact:
- Electric company
- Gas company
- Water and sewer (often handled by the municipality)
- Internet provider — schedule installation early, as slots fill quickly
- Trash and recycling pickup
Pro Tip: While you’re setting up utilities, opt into paperless billing and automatic payments. Then set a recurring calendar reminder every 90 days to review your utility usage. Many 2026-era smart meters now integrate directly with apps like Google Home or Amazon Alexa to help you track consumption in real time.
Review Your Closing Documents Carefully
Your closing disclosure, deed, title insurance policy, and mortgage note are crucial documents you’ll reference for years. Store physical copies in a fireproof safe or file box, and scan digital copies to secure cloud storage. Pay particular attention to:
- Your property’s legal description (useful for permits and disputes)
- Any easements or deed restrictions
- Your mortgage servicer’s contact information and first payment due date
- Title insurance policy number and provider
The First Month: Systems, Safety, and Settling In
With security and admin handled, month one is about establishing the systems that will protect your home — and your family — for years to come.
Install and Test Safety Devices
According to the National Fire Protection Association, three out of five home fire deaths in 2025 occurred in homes with no working smoke alarms. Here’s what you need:
- Smoke detectors: Install on every level, inside every bedroom, and outside sleeping areas. Replace any existing detectors older than 10 years.
- Carbon monoxide detectors: Required by law in most states in 2026. Install near sleeping areas and on every level.
- Fire extinguisher: At minimum, one in the kitchen (Class K or ABC rated).
- Water leak detectors: Place near the water heater, washing machine, and under sinks. Smart sensors (like Moen Flo or Phyn Plus) can alert your phone before a small drip becomes a disaster.
Schedule a Home Maintenance Inspection
Even if you had a pre-purchase inspection, getting a post-closing maintenance review from a licensed home inspector or contractor can reveal issues to address proactively. Focus on:
- HVAC system — replace filters, schedule annual servicing
- Water heater — check age (typical lifespan is 8–12 years)
- Roof — even if recently inspected, verify no storm damage occurred during the transaction
- Gutters and downspouts
- Caulking around windows and doors
Meet Your Neighbors
This isn’t just a social nicety — it’s a strategic move. Neighbors are your unofficial neighborhood watch. They’ll notice when something seems off, can receive packages when you’re away, and are often a goldmine of local knowledge (who’s the best plumber, when does the HOA meet, where do kids play). In 2026, apps like Nextdoor remain a strong complement, but face-to-face introductions build the trust those apps can’t replicate.
Understand Your HOA (If Applicable)
If your new home is part of a Homeowners Association, the first month is the time to get up to speed. As of 2026, approximately 30% of U.S. housing units are governed by an HOA. Request the CC&Rs (Covenants, Conditions, and Restrictions), meeting minutes from the past year, and any pending special assessments. Violations can carry fines — sometimes steep ones — so knowing the rules early prevents costly surprises.
Financial Moves to Make Right Away
Homeownership reshapes your financial life. Here’s how to align your finances with your new reality.
Build a Dedicated Home Maintenance Fund
The classic rule of thumb — set aside 1–3% of your home’s value annually for maintenance — remains solid advice in 2026. On a $415,000 home, that’s $4,150–$12,450 per year. Consider opening a separate high-yield savings account specifically for home expenses. As of early 2026, high-yield savings accounts are offering around 4.1–4.5% APY, meaning your repair fund actually grows while it waits.
Understand Your Mortgage Payment Structure
Your first mortgage statement will arrive within 30–45 days. Review it carefully. Understand how your PITI (Principal, Interest, Taxes, and Insurance) breaks down. If your loan includes an escrow account for property taxes and homeowner’s insurance, confirm the escrow balance is accurate. Escrow shortfalls — which trigger payment increases — caught many 2025 homeowners off guard when property tax assessments rose unexpectedly.
Reassess Your Insurance Coverage
You secured homeowner’s insurance to close — but is it the right coverage? Standard policies often exclude:
- Flood damage (requires separate NFIP or private flood policy)
- Earthquake damage (critical in California, Pacific Northwest)
- Sewer backup coverage
- High-value jewelry, electronics, or collectibles above policy limits
Spend 30 minutes reviewing your policy with your agent and asking specifically about these exclusions. In 2026, with climate-related events on the rise, flood insurance enrollment has increased by 18% year-over-year among new homeowners in previously low-risk areas.
Note the Tax Benefits Available to You
Homeownership comes with real tax advantages. The mortgage interest deduction (for loans up to $750,000) and property tax deduction (up to $10,000 SALT cap, ongoing as of 2026) can be significant. Keep detailed records of:
- All mortgage interest paid (reported on Form 1098)
- Property tax payments
- Any points paid at closing (potentially deductible)
- Home office expenses, if you work from home
- Energy-efficient improvement credits (the Inflation Reduction Act provisions still apply in 2026)
3 Common Post-Closing Challenges (and How to Beat Them)
Challenge 1: The “Surprise Repair” Spiral
The scenario: Jessica and Marcus closed on their 1987 split-level in suburban Nashville in January 2026. Three weeks later, the water heater failed — a $1,800 replacement. Two weeks after that, a HVAC issue surfaced. Without a dedicated repair fund, they put both charges on credit cards, starting their homeownership journey with unexpected high-interest debt.
The fix: Build your home maintenance fund before you need it. If possible, set aside $3,000–$5,000 at closing specifically for the first-year surprises. Homes, especially those older than 15 years, almost always have at least one significant repair within the first 12 months. Treating this as a certainty rather than a possibility changes how you budget.
Challenge 2: The Mortgage Servicer Transfer Confusion
In 2026, it’s extremely common for your mortgage to be sold or transferred to a new servicer within 60 days of closing. Federal law requires notification, but many new homeowners miss the letter, continue sending payments to the original lender, and end up with late payment marks on their credit report.
The fix: Watch your mail obsessively for the first 90 days. When a servicer transfer occurs, you’re protected — payments sent to the old servicer must be forwarded for 60 days — but set up the new servicer’s auto-pay immediately. Register online with both servicers and keep all correspondence.
Challenge 3: Overspending on Immediate Renovations
The new home excitement is real. Walking through your empty space, it’s tempting to immediately start planning renovations. But a 2025 Consumer Financial Protection Bureau report noted that 54% of first-time homeowners who renovated within the first six months experienced financial regret — either overspending, choosing the wrong projects, or discovering hidden structural issues mid-renovation that ballooned costs.
The fix: Live in your home for at least 60–90 days before committing to major renovations. You’ll discover which spaces work, which don’t, and what you actually need versus what seemed important during the buying frenzy. Then prioritize by ROI: kitchen and bathroom upgrades consistently return 60–80% of investment, while additions and luxury upgrades rarely recover their costs at resale.
Post-Closing Priority Comparison Table
| Task | Priority Level | Ideal Timeframe | Avg. Cost (2026) | Risk if Delayed |
|---|---|---|---|---|
| Rekey / Change Locks | Critical | Day 1 | $80–$200 | High |
| Address Updates (USPS, IRS, DMV) | High | Days 1–7 | Free–$5 | Moderate |
| Smoke/CO Detector Install | Critical | Days 1–3 | $100–$300 | High |
| Open Home Maintenance Fund | High | Week 1–2 | Free | Moderate |
| Review / Update Insurance Coverage | High | Week 2–4 | Varies | Low-Mod |
How New Homeowners Prioritize Their First Month
Based on a 2025 survey of 1,200 first-time buyers — percentage who completed each task within 30 days of closing:
78%
71%
58%
41%
29%
The data reveals a clear gap: while security tasks are tackled quickly, financial preparedness (maintenance funds, insurance reviews) lags significantly — leaving many new owners vulnerable in months 2–12.
Frequently Asked Questions
How soon after closing should I make my first mortgage payment?
Your first mortgage payment is typically due on the first of the month, 30–60 days after closing. For example, if you close on March 15, 2026, your first payment is usually due May 1. This is because closing costs include prepaid interest for the remainder of March, so April becomes your “grace month.” However, confirm your exact due date with your mortgage servicer — it will be stated on your closing disclosure. Set up autopay immediately, and never assume you have more time than you think.
Do I need to register my home with local authorities after closing?
In most U.S. jurisdictions, the deed transfer is recorded at closing by the title company or closing attorney — you don’t need to register separately. However, there are important follow-up steps: update your voter registration to your new address, notify your local DMV within the timeframe required by your state (typically 10–30 days), and if your municipality requires it, apply for a homestead exemption with your county assessor’s office. The homestead exemption can reduce your property tax bill significantly — in many states, by $1,000–$5,000 annually — but must be filed by a specific deadline, often March or April of the current tax year.
Should I immediately start making extra payments toward my mortgage principal?
Extra principal payments can save you tens of thousands in interest over the life of your loan — on a $400,000 mortgage at 6.5%, paying just $200 extra per month could save over $80,000 and shave nearly 6 years off a 30-year loan. However, in 2026, financial advisors increasingly recommend a balance-first approach: fully fund your home maintenance reserve, ensure you have 3–6 months of living expenses as an emergency fund, maximize any employer 401(k) match, and then apply extra toward principal. Don’t sacrifice financial resilience for early payoff — your home’s equity isn’t liquid when you need cash fast.
Your First 90-Day Homeowner Roadmap
Here’s the straight talk: most first-time homeowners navigate the first 90 days reactively — responding to problems as they emerge. The ones who thrive are those who treat these three months as a strategic onboarding period for the most significant asset they’ll likely ever own.
Your action-oriented roadmap:
- Days 1–3 (Security Sprint): Rekey all locks, photograph every room, locate all essential systems, install or test smoke and CO detectors. These aren’t optional — they’re the foundation everything else rests on.
- Days 4–14 (Administrative Blitz): Update all addresses, set up utilities, review closing documents, understand your HOA rules, and meet your immediate neighbors. Build the administrative infrastructure that prevents costly oversights later.
- Days 15–30 (Financial Architecture): Open a dedicated home maintenance savings account, review your insurance coverage for gaps, confirm your mortgage servicer details, and note all relevant tax deduction opportunities for your 2026 return.
- Days 31–60 (Systems Check): Schedule HVAC servicing, inspect gutters, test all appliances thoroughly, and create a home maintenance calendar for the next 12 months. Proactive maintenance costs a fraction of reactive repair.
- Days 61–90 (Settle and Strategize): Now that you know how your home functions through real daily life, make intentional decisions about improvements. Budget, prioritize by ROI, and plan rather than react.
As homeownership in 2026 intersects with smarter technology, rising climate awareness, and a maturing understanding of personal finance, the new homeowner who succeeds isn’t just the one who bought at the right price — it’s the one who manages what they bought with intention and discipline.
The question to sit with: In 90 days, will you look back at your post-closing period as the moment you built a strong foundation — or the time you missed the opportunities that were right in front of you?
You’ve already done the hardest part. Now it’s time to protect it, nurture it, and make it truly yours.