Matthew Thorne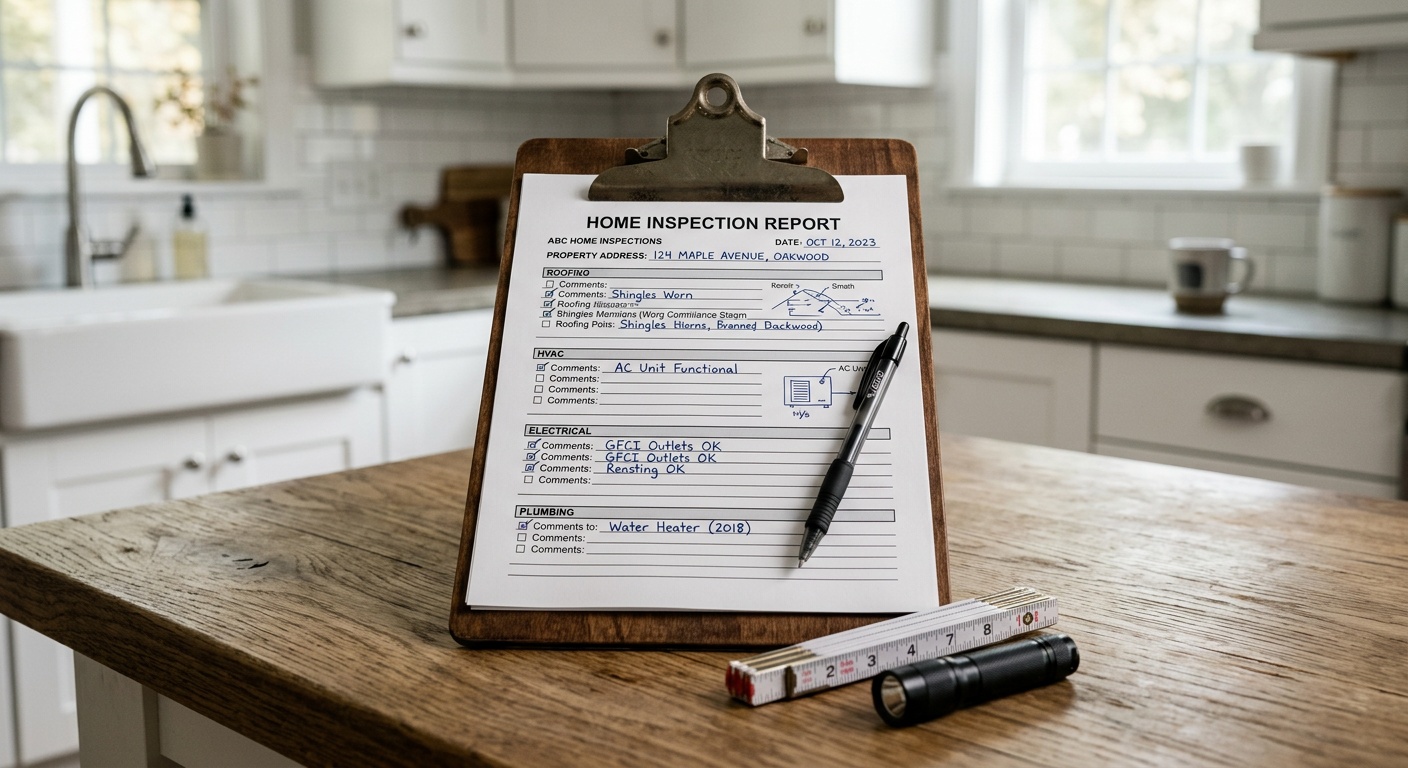
First-Time Homebuyer Home Inspection Checklist for 2026
Reading time: 14 minutes
Buying your first home is one of the most significant financial decisions you’ll ever make — and in 2026, with median home prices still hovering above $400,000 in many U.S. markets, the stakes have never been higher. Yet surprisingly, a 2025 National Association of Realtors survey found that nearly 38% of first-time buyers skipped or shortened their home inspection to speed up closing in competitive bidding situations. That’s a gamble that can cost tens of thousands of dollars in unexpected repairs.
Here’s the straight talk: A thorough home inspection isn’t just a formality — it’s your last line of defense before you sign on the dotted line. It’s the moment where a dream home can reveal its secrets, and where a savvy buyer can negotiate, walk away, or proceed with full confidence.
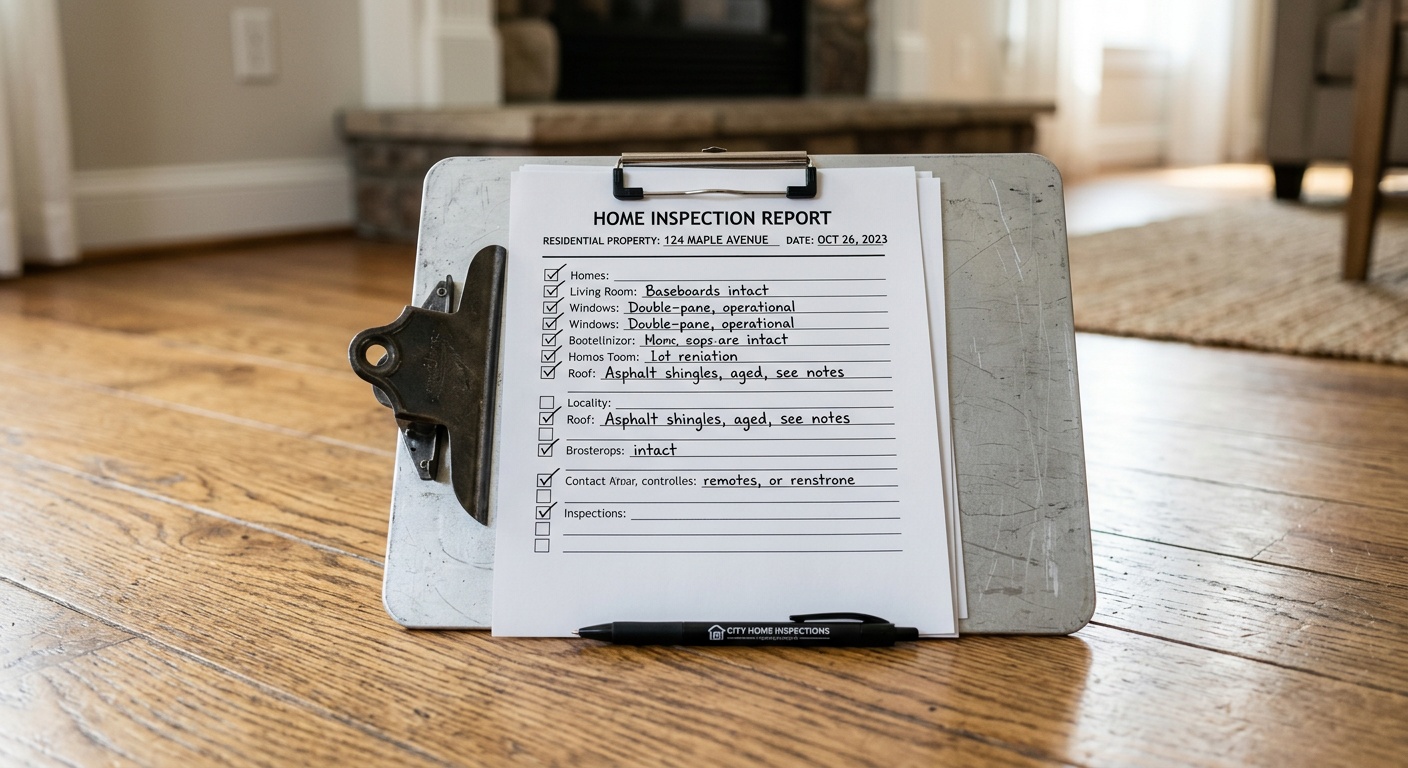
This guide will walk you through every room, system, and structural element a certified inspector should evaluate — and more importantly, what you should be watching for alongside them. Whether you’re touring a 1970s colonial or a newly built condo, this checklist will help you transform inspection anxiety into strategic empowerment.
Table of Contents
- Why a Home Inspection Matters More Than Ever in 2026
- Before the Inspection: Preparation Essentials
- Exterior Inspection Checklist
- Interior Inspection Checklist
- Major Systems Deep Dive
- Critical Red Flags You Cannot Ignore
- Inspection Findings: Cost Impact at a Glance
- After the Inspection: What to Do Next
- Frequently Asked Questions
- Your Homebuyer’s Action Roadmap
Why a Home Inspection Matters More Than Ever in 2026
The housing market of 2026 is a complex landscape. Interest rates have modestly stabilized compared to the turbulence of 2023–2024, but inventory in most markets remains tight. That pressure often pushes buyers to waive contingencies — including inspection contingencies — to make their offers more attractive. This is a dangerous shortcut.
According to a 2025 HomeAdvisor report, the average cost of a home inspection ranges from $350 to $600 for a standard single-family home. Compare that to the average cost of an undetected foundation issue ($5,000–$100,000), faulty electrical wiring ($3,500–$20,000), or a failing HVAC system ($7,000–$15,000), and the math becomes undeniable.
Quick Scenario: Imagine you’re purchasing a charming 1988 ranch-style home in Phoenix, Arizona. The seller’s disclosure mentions “minor settling.” During your inspection, the inspector discovers significant foundation cracks, improper drainage grading, and signs of past water intrusion in the basement. Without that inspection, you’d have purchased a home requiring an estimated $47,000 in structural repairs — with no recourse after closing.
Beyond financial protection, inspections give you leverage. In 2026’s still-competitive but slightly more balanced market, inspection findings are legitimate grounds for price renegotiation or requesting seller-paid repairs. Many buyers who nearly walked away from great homes used inspection results to negotiate $8,000–$25,000 off the purchase price or received closing cost credits.
Before the Inspection: Preparation Essentials
Choosing the Right Inspector
Not all home inspectors are created equal. In the United States, inspector licensing requirements vary significantly by state. As of 2026, 38 states require inspectors to hold a license, while others rely on voluntary certification programs. Here’s how to vet your inspector effectively:
- Look for ASHI or InterNACHI certification — These are the two most respected national certifications in the industry. ASHI (American Society of Home Inspectors) requires members to complete 250 paid inspections and pass rigorous written exams.
- Check online reviews and complaint histories — Platforms like Google Reviews, Yelp, and the Better Business Bureau can reveal patterns of missed issues or poor communication.
- Ask about errors and omissions insurance — A professional inspector carries E&O insurance. This protects you if they miss something significant.
- Request a sample report — A quality inspector will provide detailed, photographic reports. If they can’t show you an example, that’s a red flag.
- Confirm they welcome buyer attendance — You should absolutely attend your inspection. Any inspector who discourages this deserves scrutiny.
What to Bring and When to Arrive
Plan to arrive 10–15 minutes before the inspector begins. Bring a notebook, a phone for photos, a flashlight (for attics and crawl spaces), and comfortable clothes you don’t mind getting slightly dirty. Most inspections last 2.5 to 4 hours depending on home size.
Before inspection day, try to obtain the following documents if available:
- Seller’s disclosure statement
- Any existing repair warranties or appliance manuals
- Previous inspection reports (if the home was inspected recently)
- HOA documentation (for condos or planned communities)
- Permit history for recent renovations
Pro Tip: Cross-reference the seller’s disclosure with your inspector’s findings in real time. Discrepancies can be legally significant and may warrant further negotiation or specialist evaluation.
Exterior Inspection Checklist
The exterior of a home tells a rich story about how it has been maintained — and what problems may be lurking beneath the surface. Walk the perimeter with your inspector and pay close attention to these elements:
Roof Assessment
Roofs are among the most expensive components to replace, with costs in 2026 ranging from $9,000 to $30,000+ depending on material, pitch, and square footage. Your inspector should evaluate:
- Shingle condition — Look for curling, cracking, missing shingles, or granule loss (visible as dark patches or granules in gutters)
- Flashing integrity — Metal flashing around chimneys, skylights, and vents is a common entry point for water
- Gutters and downspouts — Sagging, detached, or clogged gutters direct water against the foundation
- Soffit and fascia — Rotted or damaged boards indicate past or ongoing moisture problems
- Roof age — Asphalt shingles typically last 20–30 years. If the roof is nearing the end of its lifespan, factor replacement costs into your offer
Foundation and Grading
- Check for visible cracks in the foundation — horizontal cracks are more serious than vertical ones
- Soil grading should slope away from the home (at least 6 inches drop over 10 feet)
- Look for efflorescence (white mineral deposits) on concrete, indicating past moisture intrusion
- Inspect window wells for proper drainage and intact seals
Exterior Walls, Driveways, and Landscaping
- Inspect siding for rot, warping, gaps, or missing caulk around windows and doors
- Check decks and porches for structural integrity, proper ledger board attachment, and railings that meet current code (typically 36–42 inches high)
- Note any trees with branches overhanging the roof or roots potentially disrupting foundation or sewer lines
- Confirm driveway and walkway condition — significant cracking or settling can indicate drainage or soil issues
Interior Inspection Checklist
Once inside, your inspection becomes a room-by-room forensic exercise. Here’s a focused walkthrough of what matters most:
Basement and Crawl Space
If the home has a basement or crawl space, this area deserves extra attention. It’s where structural issues, moisture problems, and pest damage tend to hide most effectively.
- Signs of water intrusion — Staining, mold, musty odors, or a sump pump that runs constantly
- Structural beams and joists — Check for sagging, rot, insect damage, or improper modifications
- Vapor barriers in crawl spaces — These should cover at least 90% of the ground and be in good condition
- Radon testing — This is particularly important in 2026 as awareness of radon risks has increased. The EPA recommends mitigation if levels exceed 4 pCi/L. Testing is inexpensive ($10–$30 for a DIY kit) but critical
Kitchen and Bathrooms
These rooms carry the highest density of plumbing and moisture risk:
- Test all faucets for water pressure and drainage speed
- Check under sinks for evidence of past or active leaks (warped cabinet bottoms, staining)
- Inspect grout and caulk around tubs, showers, and tile backsplashes for gaps that allow water intrusion
- Verify that bathroom exhaust fans actually vent to the exterior (many incorrectly vent into attic spaces, causing mold)
- Test GFCI outlets near water sources — these should trip when the test button is pressed and reset properly
- Check for soft or springy floors near toilets, bathtubs, and dishwashers — this indicates subfloor water damage
Attic and Insulation
- Proper ventilation prevents moisture buildup and ice dams in cold climates
- Insulation levels should meet current standards (R-38 to R-60 in most U.S. climate zones per 2026 energy codes)
- Look for signs of animal intrusion — nesting materials, droppings, or gnawed wood
- Inspect for proper bathroom and kitchen exhaust venting termination points
Major Systems Deep Dive
Beyond the rooms themselves, your inspector must thoroughly evaluate the home’s critical mechanical systems. These systems represent the highest-value repair and replacement items in any home.
Electrical System
Electrical issues are among the leading causes of residential fires. In 2026, homes with outdated or improper wiring face both safety risks and potential insurance complications.
- Electrical panel — Identify the brand and age. Certain brands like Federal Pacific (Stab-Lok) and Zinsco panels from the 1960s–1980s are known safety hazards still found in older homes and may require replacement ($2,500–$5,000)
- Breaker labeling and amperage — Modern homes require at least 200-amp service. Older homes with 60–100 amp service may struggle with modern electrical loads
- Aluminum wiring — Common in homes built between 1965–1973, aluminum branch circuit wiring presents a fire hazard and requires specific remediation
- GFCI and AFCI protection — Ground fault and arc fault circuit interrupters are now required by code in kitchens, bathrooms, bedrooms, and garages
- Visible wiring — Exposed, improperly spliced, or “knob-and-tube” wiring in older homes should be flagged
Plumbing System
- Identify pipe materials — copper is preferred; galvanized steel corrodes from the inside and reduces water pressure over time; polybutylene (PB) pipes, found in some 1978–1995 homes, are prone to failure
- Check water heater age (typical lifespan is 8–12 years for tank units), condition, and proper installation including seismic strapping in earthquake-prone regions
- Test water pressure — normal residential pressure runs 40–80 PSI
- Ask if the home uses a septic system or municipal sewer — septic inspections typically require a separate specialist
HVAC (Heating, Ventilation, and Air Conditioning)
- Confirm the age and service history of the furnace and air conditioner. Average lifespans: furnaces 15–20 years, central AC units 10–15 years
- Inspect ductwork for leaks, improper connections, or signs of pest intrusion
- In 2026, heat pump technology has become increasingly standard in new construction — understand what system is installed and its efficiency rating (SEER2 for cooling, HSPF2 for heating)
- Check filters, thermostat operation, and whether all rooms receive adequate airflow
Critical Red Flags You Cannot Ignore
Some inspection findings warrant immediate, serious attention. Here’s what should give you significant pause — or prompt you to bring in a specialist before proceeding:
- Active mold growth — Especially in HVAC systems or on structural components. Remediation costs range from $1,500 to $30,000+
- Structural cracks — Horizontal foundation cracks, diagonal stair-step cracks in brick, or doors/windows that don’t close properly (indicating movement)
- Evidence of unpermitted work — DIY electrical, plumbing, or structural modifications done without permits can trigger mandatory correction orders at your expense post-purchase
- Signs of active pest infestation — Termite damage, carpenter ant trails, or rodent evidence. A separate pest inspection is recommended for most purchases
- Old or failing roofing combined with evidence of interior leaks — Water damage to ceilings, walls, and insulation multiplies repair costs significantly
- Inadequate ventilation combined with high humidity readings — Sets the stage for long-term mold and structural deterioration
Case Study: In early 2025, a first-time buyer in Atlanta, Georgia was under contract for a 1962 brick ranch. The general inspection flagged staining near a basement wall and an older panel. The buyer chose to add a structural engineer consultation ($400) and a mold test ($200). Results revealed a significant foundation bow requiring $28,000 in repair and mold in the HVAC system at $6,500 to remediate. The buyer successfully negotiated a $22,000 price reduction and a seller credit for the remaining repairs — a $30,000+ swing from a $600 additional investment.
Inspection Findings: Cost Impact at a Glance
The following table summarizes the most common inspection findings for first-time buyers in 2026, along with average repair costs and negotiation impact:
| Issue Found | Average Repair Cost (2026) | Severity | Negotiation Potential | Specialist Needed? |
|---|---|---|---|---|
| Roof replacement needed | $9,000 – $28,000 | High | Very High | Roofing contractor |
| Foundation issues | $5,000 – $100,000 | Critical | Very High | Structural engineer |
| Electrical panel upgrade | $2,500 – $6,000 | High | High | Licensed electrician |
| HVAC replacement | $7,000 – $15,000 | High | High | HVAC technician |
| Mold remediation | $1,500 – $30,000 | Critical | Very High | Mold specialist |
Most Commonly Identified Issues by First-Time Buyers in 2026
The following visualization illustrates how frequently specific issues appear in home inspection reports for first-time buyers, based on 2025 InterNACHI data analysis:
Inspection Issue Frequency (% of reports)
86%
72%
65%
58%
39%
After the Inspection: What to Do Next
The inspection report is delivered — now what? This phase is where many first-time buyers feel overwhelmed by the sheer volume of findings. Here’s how to process the results strategically.
Categorizing Your Findings
Not everything in an inspection report is created equal. Inspectors note everything — including minor maintenance items that every home has. Sort findings into three buckets:
- Safety issues — Electrical hazards, structural failures, gas leaks, fire risks. These are non-negotiable; always address before closing.
- Major repairs — Roof replacement, HVAC systems, plumbing issues. These carry significant cost and should be negotiated.
- Maintenance items — Caulking, weatherstripping, cosmetic issues. Factor these into your post-move budget but don’t let them derail the deal.
Negotiation Strategies That Actually Work in 2026
With the 2026 market offering slightly more balance in many metros, buyers have regained some leverage. Here are practical negotiation approaches:
- Request a price reduction — Most effective for systemic issues where repair costs are quantifiable. Get 2–3 contractor bids to support your ask.
- Ask for a seller credit at closing — Rather than trusting the seller to make repairs, a closing credit puts cash in your hands to manage repairs on your timeline with contractors of your choosing.
- Request specific repairs with verification — If repairs are completed pre-closing, require a re-inspection by your inspector or the contractor’s signed warranty.
- Walk away — Sometimes the right move. If major issues exceed your renovation budget and risk tolerance, exercising your inspection contingency protects your earnest money deposit.
Expert Insight: According to real estate attorney Michelle Hargrove of Denver, CO, “In 2026, I’m advising buyers to always maintain their inspection contingency unless they’re purchasing a clearly priced-as-is property with full knowledge of existing issues. The financial protection is simply too valuable to surrender in most market conditions.”
Frequently Asked Questions
How long does a home inspection take, and should I attend?
A typical single-family home inspection takes between 2.5 and 4 hours, with larger or older homes requiring more time. You should absolutely attend — watching the inspector work in real time gives you context that no written report can fully replicate. When an inspector points out a concern in person, you understand its severity, location, and implications far better than reading about it later. Ask questions freely; a good inspector welcomes them and will explain findings in plain language rather than technical jargon.
What is not covered in a standard home inspection?
Standard home inspections are visual and non-invasive, meaning inspectors cannot open walls, dig into the earth, or test for everything. Items typically not covered include: radon gas testing, mold testing, sewer scope inspections, septic system evaluations, well water quality tests, chimney inspections, pest/termite inspections, oil tank detection, and lead paint or asbestos testing. For older homes (pre-1980) or homes with wells and septic systems, budgeting for these additional specialty inspections is strongly recommended. Each typically costs $100–$400 and can prevent extraordinarily expensive surprises.
Can I use the inspection report to renegotiate after my offer is accepted?
Yes — and this is one of the most powerful tools a buyer has. As long as your purchase contract includes an inspection contingency (which it should), you have the legal right to request repairs, credits, or a price reduction based on inspection findings, or to withdraw from the contract entirely and recover your earnest money deposit. In 2026, it’s estimated that over 67% of home purchase contracts involve some form of post-inspection renegotiation. The key is to be reasonable and focused: prioritize safety and major repair items rather than presenting the seller with a laundry list of every minor maintenance note the inspector recorded.
Your Homebuyer’s Action Roadmap
You’ve done the reading. Now let’s crystallize this into a clear, actionable path forward:
- Book your inspector before you need them. In active markets, top-rated inspectors book out 1–2 weeks. Identify and pre-vet 2–3 inspectors before you’re under contract so you can move quickly when the time comes.
- Budget for specialty tests. Set aside $500–$1,000 for additional inspections (radon, sewer scope, chimney, pest) based on the age and characteristics of the home you’re pursuing. Treat this as a non-negotiable due diligence investment.
- Attend and engage during the inspection. Don’t just follow silently. Ask questions, take notes, photograph every flagged item, and request explanations in plain language. You’re paying for this professional’s expertise — extract maximum value from the experience.
- Prioritize findings strategically. When the report arrives, separate safety hazards and major systems from cosmetic issues. Focus your negotiation energy on the items that matter most financially and structurally.
- Make informed decisions, not emotional ones. Use the inspection data — not fear or attachment — to guide your next steps. A home that inspects poorly is information, not a personal failure. Sometimes the right home is one you walk away from.
The broader trend is clear: as homes age across the U.S. housing stock (the median American home is now over 40 years old) and as climate-related stressors — extreme heat, flooding, and storm intensity — continue to accelerate into 2026 and beyond, the condition of a home’s systems and structure has never mattered more. Buyers who invest in thorough inspections today are building a foundation — literally and figuratively — for long-term financial resilience.
Here’s your question to sit with: When you walk through that front door for your inspection, are you approaching it as a hopeful ceremony, or as a strategic due diligence mission? The answer to that question could be worth tens of thousands of dollars — and years of peace of mind.
Your first home should be a place of joy, not financial anxiety. A thorough, well-executed inspection is the bridge between the two. Go in prepared, go in curious, and go in with this checklist in hand.