Matthew Thorne
New Home Inspection Checklist for First-Time Buyers in 2026
Reading time: 14 minutes
Ever stood at the threshold of a house you were considering buying and felt that mix of excitement and quiet terror? You’re not alone. For first-time buyers in 2026, the stakes have never been higher — median home prices in the U.S. hover around $432,000, mortgage rates are gradually stabilizing after years of volatility, and the last thing you want is to discover a cracked foundation or a failing HVAC system after you’ve signed on the dotted line.
A thorough home inspection is your single most powerful tool before committing to the biggest financial decision of your life. Yet surveys from the National Association of Realtors in 2025 found that nearly 31% of first-time buyers felt underprepared going into their inspection appointment — they didn’t know what to watch for, what questions to ask, or how to interpret the findings.
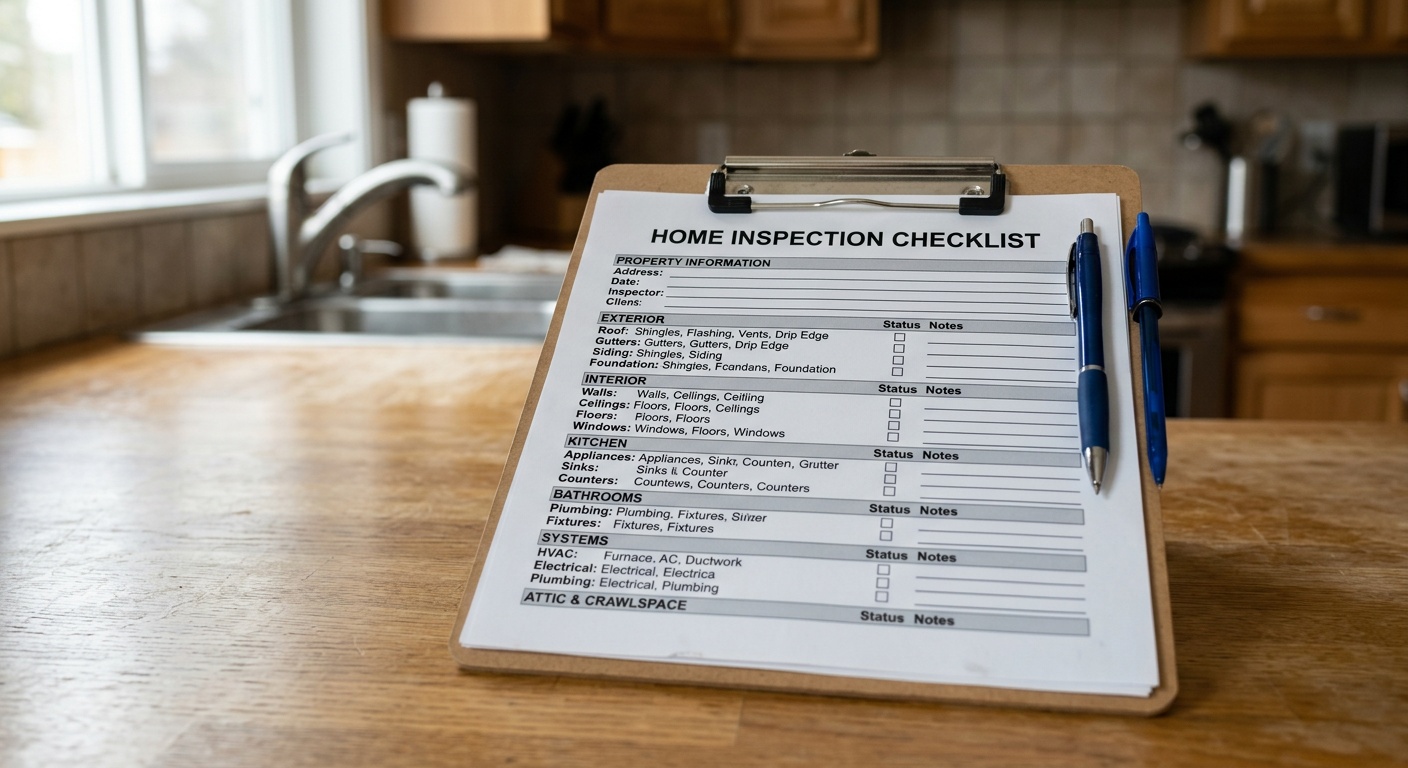
This guide changes that. Whether you’re about to walk through your first open house or you’re days away from an inspection appointment, this checklist arms you with the expert knowledge, real-world scenarios, and actionable steps to protect your investment and negotiate from a position of strength.
Table of Contents
- Why a Home Inspection Matters More Than Ever in 2026
- Before the Inspection: What to Prepare
- Exterior Inspection Checklist
- Interior Inspection Checklist
- Major Systems Deep Dive
- Critical Red Flags That Could Cost You Thousands
- After the Inspection: Interpreting the Report
- Inspection Cost Comparison by Home Type
- Frequently Asked Questions
- Your Inspection Action Plan: Closing Steps
Why a Home Inspection Matters More Than Ever in 2026
The 2026 housing market is a fascinating contradiction. Inventory has improved slightly compared to the inventory crisis of 2022–2024, yet competition in desirable markets remains fierce. Buyers are feeling pressure to move fast, and that urgency can lead to costly shortcuts — including waiving or rushing an inspection.
Here’s the straight talk: waiving a home inspection is almost never worth the risk. According to data from HomeAdvisor’s 2025 Annual Homeowner Cost Report, the average cost to repair a failing roof runs between $9,000 and $24,000. Foundation issues? Anywhere from $5,000 to $100,000+. A standard home inspection typically costs between $350 and $700 — easily the highest-ROI expenditure in your entire purchasing journey.
Beyond pure financials, 2026 brings new construction concerns to the table. Supply chain disruptions between 2021 and 2024 meant many builders substituted materials, sometimes with long-term durability implications. Climate-related events — flooding, wildfire smoke infiltration, extreme heat exposure — have introduced new categories of damage that older inspection frameworks didn’t fully address. And smart home technology integration, now standard in most new builds, creates novel inspection points around cybersecurity vulnerabilities and device compatibility.
“The home inspection landscape in 2026 looks meaningfully different from even five years ago. Inspectors now need literacy in EV charging infrastructure, solar system performance, and climate resilience — not just the traditional plumbing and electrical basics.” — James Caldwell, President, American Society of Home Inspectors (ASHI), 2025 Annual Report
Before the Inspection: What to Prepare
Choosing the Right Inspector
Not all inspectors are created equal. In 2026, you want someone who holds active certification from either ASHI (American Society of Home Inspectors) or InterNACHI (International Association of Certified Home Inspectors). Beyond credentials, ask these specific questions during your vetting call:
- How many inspections have you completed in the past 12 months? Look for 150+ to confirm active, current-market experience.
- Are you familiar with solar panel systems and EV charging stations? Critical for 2026 homes.
- Do you use thermal imaging cameras? Thermal imaging can reveal moisture intrusion and insulation gaps invisible to the naked eye.
- What does your written report look like? Request a sample. The best reports use photos, clear language, and priority classifications.
- Do you carry Errors & Omissions (E&O) insurance? Non-negotiable for your protection.
Quick Scenario: Sarah, a 29-year-old first-time buyer in Austin, Texas, hired the cheapest inspector she found on a neighborhood app. The inspector missed active moisture infiltration in the crawl space — not discovered until six months after closing. Remediation cost: $14,800. The lesson? Save money elsewhere, not on your inspector.
Preparing Your Personal Checklist Before You Arrive
Before the inspection day, compile a personal file that includes:
- The property’s listing disclosures — note anything the seller flagged as known issues
- Permit history from the county assessor’s website (verify additions were properly permitted)
- Any neighborhood-specific risk data (flood zone maps, wildfire risk scores — now publicly available through FEMA’s updated 2026 portal)
- Age of major systems as listed — water heater, HVAC, roof — so you can benchmark expected remaining lifespan
- Your priority concern list based on your own walkthrough observations during open houses
Exterior Inspection Checklist
The exterior is where many of the most expensive problems live — and where most first-time buyers spend the least focused attention because they’re distracted by curb appeal.
Roof and Gutters
- Check shingle condition: look for curling, missing shingles, granule loss in gutters
- Verify flashing integrity around chimneys, skylights, and roof valleys
- Assess gutter attachment, slope, and downspout drainage direction (should direct water away from foundation)
- For flat or low-slope roofs: check for pooling evidence and membrane integrity
- If solar panels are present: verify mounting seal integrity and panel age
Foundation and Grading
- Walk the full perimeter looking for cracks — horizontal cracks in block foundations are particularly serious
- Check that soil grading slopes away from the home (at least 6 inches of drop over 10 feet)
- Look for signs of past water pooling: soil erosion patterns, staining on foundation walls
- Examine window wells for drainage and rust
Exterior Walls and Surfaces
- Check siding for gaps, rot, or damage (especially at ground contact points)
- Inspect caulking around windows and doors — dried, cracked caulk is a moisture highway
- For stucco homes: tap for hollow spots indicating delamination
- Examine wood trim for soft spots, especially on older homes (pre-2005 construction)
Driveway, Walkways, and Decks
- Trip hazards from heaved concrete can signal root intrusion or freeze-thaw cycling
- Deck: check ledger board connection to house, post bases, joist hangers, and decking boards
- Fence: condition and attachment security (relevant if there are children or pets in your future)
Interior Inspection Checklist
Inside the home, a methodical room-by-room approach prevents the common mistake of focusing only on the kitchen and master bedroom while missing the laundry room or basement.
Basement and Crawl Space
This is often where the most important — and most hidden — problems reside. Take your time here.
- Check for water staining on walls and floor (white mineral efflorescence = past moisture intrusion)
- Inspect structural beams and joists for rot, insect damage, or sagging
- Verify vapor barrier presence and condition in crawl spaces
- Check sump pump function if present — pour water in the pit to trigger the float switch
- Look for any signs of radon mitigation systems and verify they’re functional
Kitchen
- Run all faucets and check under-sink plumbing for leaks and water damage
- Test all appliances included in the sale
- Check dishwasher door seal and run a cycle to verify drain function
- Verify exhaust fan actually vents to exterior (not just recirculates)
- Test GFCI outlets near sink — press test button, verify power cuts
Bathrooms
- Flush each toilet and watch for slow drainage or running water after flush
- Press on tiles around tub and shower — soft or “give” indicates water damage behind wall
- Check caulking at tub/shower surround seams
- Run hot water and verify water heater response time
- Check bathroom exhaust fans — many are undersized or disconnected entirely
Bedrooms and Living Areas
- Test every electrical outlet with an outlet tester (your inspector should have one)
- Open and close every window — proper function, presence of screens, lock operation
- Check closet floors and walls near exterior walls for moisture or mold
- Look at ceiling corners for water staining from roof or upstairs plumbing
- Test garage door auto-reverse safety function
Major Systems Deep Dive
In 2026, the “major systems” inspection has expanded beyond its traditional scope. Here’s what demands careful attention:
HVAC System
Heating, ventilation, and air conditioning represents one of the most significant capital expenditure risks in a home purchase. A quality inspector will run the system through both heating and cooling modes regardless of the outdoor temperature. Key checkpoints:
- Age: Average furnace lifespan is 15–20 years; central AC is 15–20 years. Systems approaching these ages warrant budget planning.
- Filter condition: A severely clogged filter signals deferred maintenance habits throughout the home
- Ductwork: Check for disconnected ducts in basement or attic, which silently waste energy
- Condensate drain: Should flow freely; clogs lead to water damage
- Heat pump operation: In 2026, heat pumps are increasingly common following the Inflation Reduction Act incentives. Verify both heating and cooling operation modes.
If you’re purchasing a home where a new baby might be part of your plans — or already is — you’ll also want to research whether the climate control equipment is appropriate for young children. Parents often wonder whether is air cooler safe for babies — an important question when evaluating supplemental cooling options for nurseries and bedrooms beyond the central system.
Electrical System
- Verify main panel is a reputable brand — Federal Pacific Stab-Lok and Zinsco panels are still encountered and represent fire hazards
- Check panel capacity: 200-amp service is standard for modern needs; 100-amp panels in older homes may need upgrade
- Look for double-tapped breakers (two wires on one breaker) — a code violation
- Verify GFCI protection in kitchen, bathrooms, garage, and exterior outlets
- Check for AFCI breakers on bedroom circuits — required by modern code
- EV Charging: In 2026, verify whether a 240V outlet or dedicated EV circuit exists in the garage if relevant to your plans
Plumbing System
- Identify pipe material: copper and PEX are preferred; galvanized steel in older homes can corrode; polybutylene (gray plastic from 1970s–1990s) is a liability
- Check water pressure: ideal range is 45–80 psi
- Verify water heater age (check label on unit), capacity, and proper T&P valve installation
- Test all drains for speed of drainage
- For homes built before 1980: inquire about lead pipe possibility at main service entry
Insulation and Ventilation
- Attic insulation depth and type — R-38 minimum is recommended for most climate zones in 2026 energy codes
- Attic ventilation: sufficient ridge and soffit vents prevent moisture accumulation and ice dam formation
- Check for proper bathroom and kitchen exhaust venting (must terminate outside, not into attic)
Critical Red Flags That Could Cost You Thousands
Some findings during a home inspection warrant immediate caution — not panic, but serious negotiation leverage or reconsideration:
- Active water intrusion: Any current moisture infiltration in basement, crawl space, or through the roof is a priority concern
- Structural movement evidence: Sticking doors throughout the house, diagonal cracks at window corners, or sloping floors
- Mold presence: Visible mold in any area — professional remediation typically costs $1,500–$9,000
- Knob-and-tube or aluminum branch circuit wiring: Common in pre-1970s homes, creates insurance complications and fire risk
- Evidence of unpermitted additions: Rooms with inconsistent finishes, electrical work that doesn’t match main panel labeling
- Flue and chimney damage: Cracked flue tiles or damaged chimney crowns are both safety hazards and expensive repairs
Case Study: Marcus and Elena, a couple purchasing their first home in Charlotte, NC in early 2026, noticed during their personal walkthrough that several interior doors stuck. Their inspector’s report confirmed settlement cracks consistent with expansive clay soil movement — a regional issue. Armed with this, they negotiated $18,500 off the purchase price and a structural engineer consultation contingency. The final repair cost was $11,200 — meaning they came out ahead while entering with eyes open.
After the Inspection: Interpreting the Report
The inspection report lands in your inbox — often 40–80 pages long with photographs. Here’s how to process it strategically rather than emotionally:
Categorize Findings by Priority
- Safety Issues: Must be addressed — carbon monoxide risks, electrical hazards, structural concerns
- Major Defects: Items with significant cost implications — roof replacement, HVAC failure, plumbing system problems
- Maintenance Items: Typical wear that is expected — caulking replacement, minor deck repairs, dirty filters
- Informational Notes: Observations without repair urgency — attic insulation depth, recommended future upgrade timelines
Focus your negotiation energy on categories 1 and 2. Requesting seller repair or price credit for every item on a 60-item report dilutes your negotiating impact and can sour the transaction unnecessarily.
Requesting Repairs vs. Price Reduction
In the 2026 market, a price reduction or credit at closing is often preferable to requesting that sellers complete repairs. Here’s why: when sellers arrange repairs, they may use the cheapest contractor available. When you receive a credit, you control the quality of the repair. This is especially true for complex work like roof replacement or foundation stabilization.
Inspection Cost Comparison by Home Type
Understanding what your inspection investment looks like across different property types helps set appropriate budget expectations:
| Property Type | Avg. Inspection Cost (2026) | Duration | Add-On Tests Recommended | Total Budget Estimate |
|---|---|---|---|---|
| Condo (under 1,500 sq ft) | $300–$425 | 1.5–2 hrs | Radon (if ground floor) | $350–$550 |
| Single Family (1,500–2,500 sq ft) | $400–$550 | 2.5–3.5 hrs | Radon, sewer scope | $600–$950 |
| Single Family (2,500–4,000 sq ft) | $500–$700 | 3.5–5 hrs | Radon, sewer, mold, thermal | $800–$1,300 |
| Older Home (pre-1980) | $500–$750 | 3–5 hrs | Lead paint, asbestos, sewer, oil tank | $900–$1,600 |
| New Construction | $450–$600 | 3–4 hrs | Radon, phase inspections | $600–$900 |
Common Inspection Findings by Frequency
Based on 2025 InterNACHI aggregate data from over 100,000 inspections nationwide, here are the most commonly identified issues:
Frequently Asked Questions
Can I skip the inspection on a new construction home?
This is one of the most common and costly misconceptions in 2026 real estate. New construction homes absolutely require independent inspections — in fact, many experts recommend phase inspections at multiple points during construction (foundation pour, framing, pre-drywall, and final completion). Builder inspections are conducted by municipal code inspectors who check minimum code compliance, not quality or workmanship. Independent inspectors in 2025 found defects in over 73% of new construction final walk-throughs they evaluated, according to InterNACHI’s annual report. Never skip this step, regardless of how reputable the builder.
Should I attend the inspection in person?
Yes — without question. Walking the inspection with your inspector is one of the most educational and valuable experiences of the home-buying process. Inspectors who discourage buyer attendance should be viewed as a red flag. In person, you gain context that a written report simply cannot convey — the inspector can point to the actual location of a concern, demonstrate a problem firsthand, and gauge severity in real time. You can also ask clarifying questions immediately. Plan for 3–4 hours for an average-sized home and wear comfortable clothes you don’t mind getting dirty (attics and crawl spaces are part of the tour).
What additional specialized tests should I consider in 2026?
Beyond the standard general inspection, consider these add-ons based on your property’s characteristics. Radon testing is recommended for any home with a basement or in a high-radon geology zone — the EPA estimates 1 in 15 U.S. homes has elevated radon levels. Sewer scope inspection ($175–$350) is strongly recommended for homes over 20 years old; tree root intrusion and pipe collapse are common and expensive. Mold testing is warranted if you observe staining, musty odors, or the home was vacant or had known water issues. Lead paint testing is advisable for pre-1978 construction. Finally, oil tank scans are essential in northeastern U.S. regions where buried oil tanks from previous heating systems can create environmental liability costing tens of thousands of dollars to remediate.
Your Inspection Action Plan: Walk In Prepared, Walk Out Empowered
Here’s the bottom line: a home inspection isn’t an obstacle — it’s your strategic intelligence briefing before the most significant financial commitment of your life. In 2026’s market, where every dollar matters and deferred problems compound quickly, the buyers who succeed are the ones who approach this process with preparation and confidence rather than anxiety.
Your immediate action steps:
- This week: Begin vetting inspectors. Verify ASHI or InterNACHI certification, request sample reports, confirm E&O insurance, and check Google and Yelp reviews from the past 12 months specifically.
- Before the inspection: Pull permit history from the county assessor, compile the seller’s disclosure document, and prepare your personal priority concern list from your open-house observations.
- Day of inspection: Arrive at the start time, wear appropriate clothes for attic and crawl space access, bring this checklist, and ask your inspector to explain every significant finding in plain language.
- After the report arrives: Categorize findings by safety/major defect/maintenance/informational. Share the report with a trusted contractor for cost estimates on major items before submitting your repair request or credit negotiation.
- Before closing: Conduct a final walk-through within 24 hours of closing to verify agreed-upon repairs were completed to standard — and document everything with photos.
The broader trend here is unmistakable: as homes become more technologically complex, climate-exposed, and financially significant, the inspection process will only grow more important. The buyers who embrace this step — rather than viewing it as a bureaucratic hurdle — will consistently make smarter, safer, more confident purchases.
So here’s the question worth sitting with: when you walk out of your inspection, will you feel like you truly know the home you’re buying — or will you still be guessing? The difference between those two outcomes is entirely within your control.